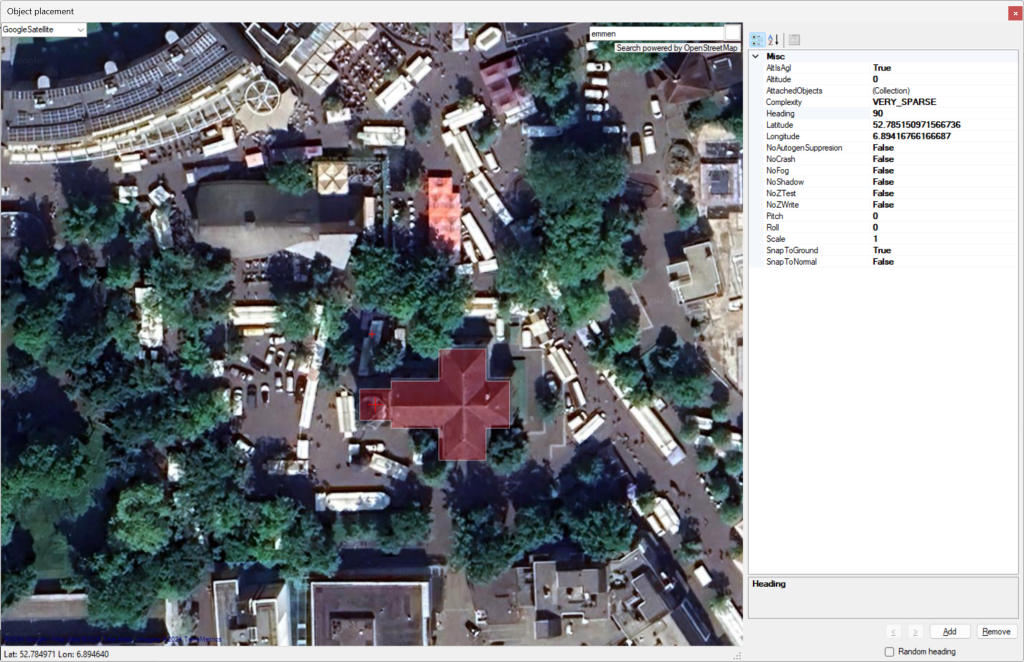
Prepar3D v6 support

Lockheed Martin has released a new version of Prepar3D, version 6. I have now updates my tools to support this version as well. That means you can select it as active FS version, that it will detect the installation location and that the SDK tools are also found from the Prepar3D v6 SDK.

The only disclaimer with this update is that I do not own Prepar3D v6 myself, so I have not been able to test everything. If you encounter any issues, please let me know.

scenProc roadmap

Last month we were on vacation and traditionally that means no computer and no programming on FS tools for a while. But of course you always have your brain with so, so vacation is a good month to think about new features for tools and things like that. During the last vacation most thinking-energy went into scenProc and I would like to share the roadmap I see for the future with you.

Let me start with a caution as well. There is no concrete project that I am working on at the moment that requires the things I want to add. So it is purely out of interest that I try to research these new features. I have no idea when or if I will reach the end state I have in mind. I guess only future will tell, don’t hold your breath for it.

scenProc started as a tool to make the creation of autogen for big areas easier. But I think the limits of what can be done with autogen are kind of reached already. So not too much new features can be added it that anymore. Later on I also added terrain vector and resample scenery output in scenProc and the possibility to create 3D buildings (as MDL objects). The latter is really useful to overcome the limitations of autogen when trying to create realistic buildings in a big area. Autogen is always rectangular and that just does not fit real world buildings that well.

My plan is to improve the 3D building output, by adding more roof types and allowing more complex shapes. For example have mansard roofs as well or allow different heights and different roof types within one building. I have actually started coding some of these features already, I will make a sneak preview video of the results soon. I think this 3D building generation would also be useful to have in ModelConverterX, as it will allow you to make generic buildings areas than modelling them in Blender or 3DS Max. So I think the new features I develop for scenProc will also make it into ModelConverterX as a new wizard later on.

But the whole idea of scenProc is of course to be able to generate scenery in a geo-data driven way. So to be able to feed that 3D building step that can make more realistic buildings, it is needed to somehow get the data that define these buildings. I haven’t seen a lot of GIS data that contains information on roof types and such. So my intend is to derive this information from raster imagery.

That however won’t be possible with the basic texture filter that is available now. Last year I have added the first bit of machine learning to the texture filter with the SVM step and I think more machine learning algorithms are needed to derive such building details as well. I have already found some scientific papers on these subjects as inspiration. But for me all these machine learning algorithms are also quite new, so I guess it will be some learning curve.

Once learning more machine learning methods, I think other features than buildings will also benefit from it. For example the detection of water or vegetation might also benefit from these techniques. I even think that doing water detection with machine learning might be a good way to learn the techniques, before I jump in the more complex problem is detecting roof types.

So to sum this all up, I mainly see new scenProc features in these three areas of the coming period:

  1. Improvements to the 3D building output to generate even more realistic buildings.
  2. More machine learning techniques in the texture filter to detect information from imagery. This will benefit:
    • Water detection
    • Roof type detection

XtoMDL prerequisites

One common issue when trying to compile objects using XtoMDL in ModelConverterX is that XtoMDL can throw very unclear error messages when the XtoMDL tool is missing one of its prerequisites. For example the FSX XtoMDL needs a very specific DirectX version to the installed and different P3D XtoMDL versions depend on different C++ redistributable package versions. For a user it is often not clear that the error throws is related to such a prerequisites.

In the last development release of ModelConverterX I have made a change. The tool will now check if the right prerequisites are installed before you use XtoMDL and it will give a clear error message (including a download link) in case something is missing. That should make it a lot easier to make sure XtoMDL is working fine.

There is one big catch, on my machine I had all the prerequisites installed already of course. So I was not able to test it well in a situation where things are missing. So if you encounter any weird situations where ModelConverterX reports invalid prerequisites where it shouldn’t or where after installing the prerequisites it still does not work, please let me know.

Improved mipmaps handling

It turned out that for all those years the way ModelConverterX handles the mipmaps of textures was not really correct. So in the last version of ModelConverterX there are a number of changes that improve this. These include:

  • Mipmaps are read correctly from DDS and DXTBMP files, instead of being calculated internally by ModelConverterX.
  • Mipmaps are saved to DDS and DXTBMP files based on the data that was loaded, instead of being calculated by ModelConverterX. This means that if you modified some mip levels that data is not being lost when exporting a texture file from ModelConverterX.
  • The Texture Converter form has a dropdown menu now where you can select which mip level you want to see, that way you can inspect the different levels.
  • And last, but not least, the preview in ModelConverterX uses the mipmap data correctly now when rendering the preview of the object.

The video below also shows most of these changes.

Building Texture Configuration file format change

In the latest development release I have fixed the bug that textures in the 3D building generation have to be square in size. But while making this fix I also broke the backwards compatibility of old BTC files partly. So prevent such issues in the future I have added a new file format that has less backwards compatibility issues, this new format is called BT2.

For now the Building Texture Configuration Editor can read both formats, so you can convert your old configurations by loading them in the editor and then saving them in the new format. I have also made a command line conversion tool that you can use: btc_to_bt2.

Object segmentation and machine learning

I have an early Christmas present for scenProc users, today I have push a new development release of scenProc that contains exciting new features for the texture filter that I have been working on the last months.

About half a year ago I start to explore how I could make the vegetation detection in the texture filter more accurate and easier to use. I found a number of interesting articles about this in the literature and soon it became clear that all of them were using an object based classification, instead of a pixel based classification. And most were also using the Support Vector Machine (SVM) machine learning algorithm for the actual classification. So I have been working on adding these two features to scenProc as well and from the testing and experimentation I have done until now I think this will indeed make detection of features in imagery easier.

Below is a video tutorial I made about these new features. I would also mention the sample that is provided in section 6.3.5 of the manual. That should be a good starting point to start experimenting for your own project. And if you have questions or suggestions on how to improve this functionality, feel free to post them on the scenProc forum at FSDeveloper.com.

Texture filter configuration file format changed

The latest development release of scenProc adds a new file format to export the texture filter configuration file to. This new format is called the TF2 format and will replace the TFC format in the future. For now scenProc will support both formats, but I have some changes in development that will give backwards compatibility issues with the old TFC format. That is why this new format has been added now.

As I know developing a texture filter configuration file for complex feature detection can take a lot of time, it is important that developers can easily convert their existing configuration to the new format. There are two ways to do this:

  1. You can open the TFC file in the texture filter editor and then save it in the new TF2 format.
  2. You can use the tfc_to_tf2 command line conversion tool.

Once I have released the features in development now that will break the backwards compatibility option 2 will be the only way to convert your existing work.

Processing scenProc scripts in batch

The scenProcBatchRunner tool has been expanded in the latest development release of scenProc. With this tool you can run your scenProc scripts in a batch file, passing different variables to each run of the same script. By using multiple scenProcWorkers you can also speed up the processing of your scripts. And the new Workflow Feeder mode allows you to setup a entire workflow for your project and easily run that over a big area. The video tutorial below explains this all in more detail.

https://youtu.be/sN2GvgNfIB4

Creating photoreal scenery with scenProc

With the latest development release of scenProc it is possible to create photoreal scenery BGL files directly from scenProc. In your script you define which raster and vector data is used to create the photoreal. In a texture filter configuration file you define how the raster data should be processed before it is handled to resample for the BGL creation. The process also allows you to create watermasks, blendmasks, night or seasonal variants. The video tutorial below gives an overview of the possibilities.